Step 1: Install the app
You can install the app from the Atlassian Marketplace.
Step 2: Open the Project Gardener App
The app is available for administrators in the global apps section.
Step 3: Allow access to the app (one time only)
Project Gardener for Jira is built on the Atlassian Forge platform which adds additional security measures to cloud apps. As a result, every user who uses the app needs to grant access to it the first time. You can do so by -
-
Open the Project Gardener app
-
Click on 'allow access' and follow the instructions on the screen
-
Once granted, you can go back to the app and start using it.
You’ll need to do this only once.
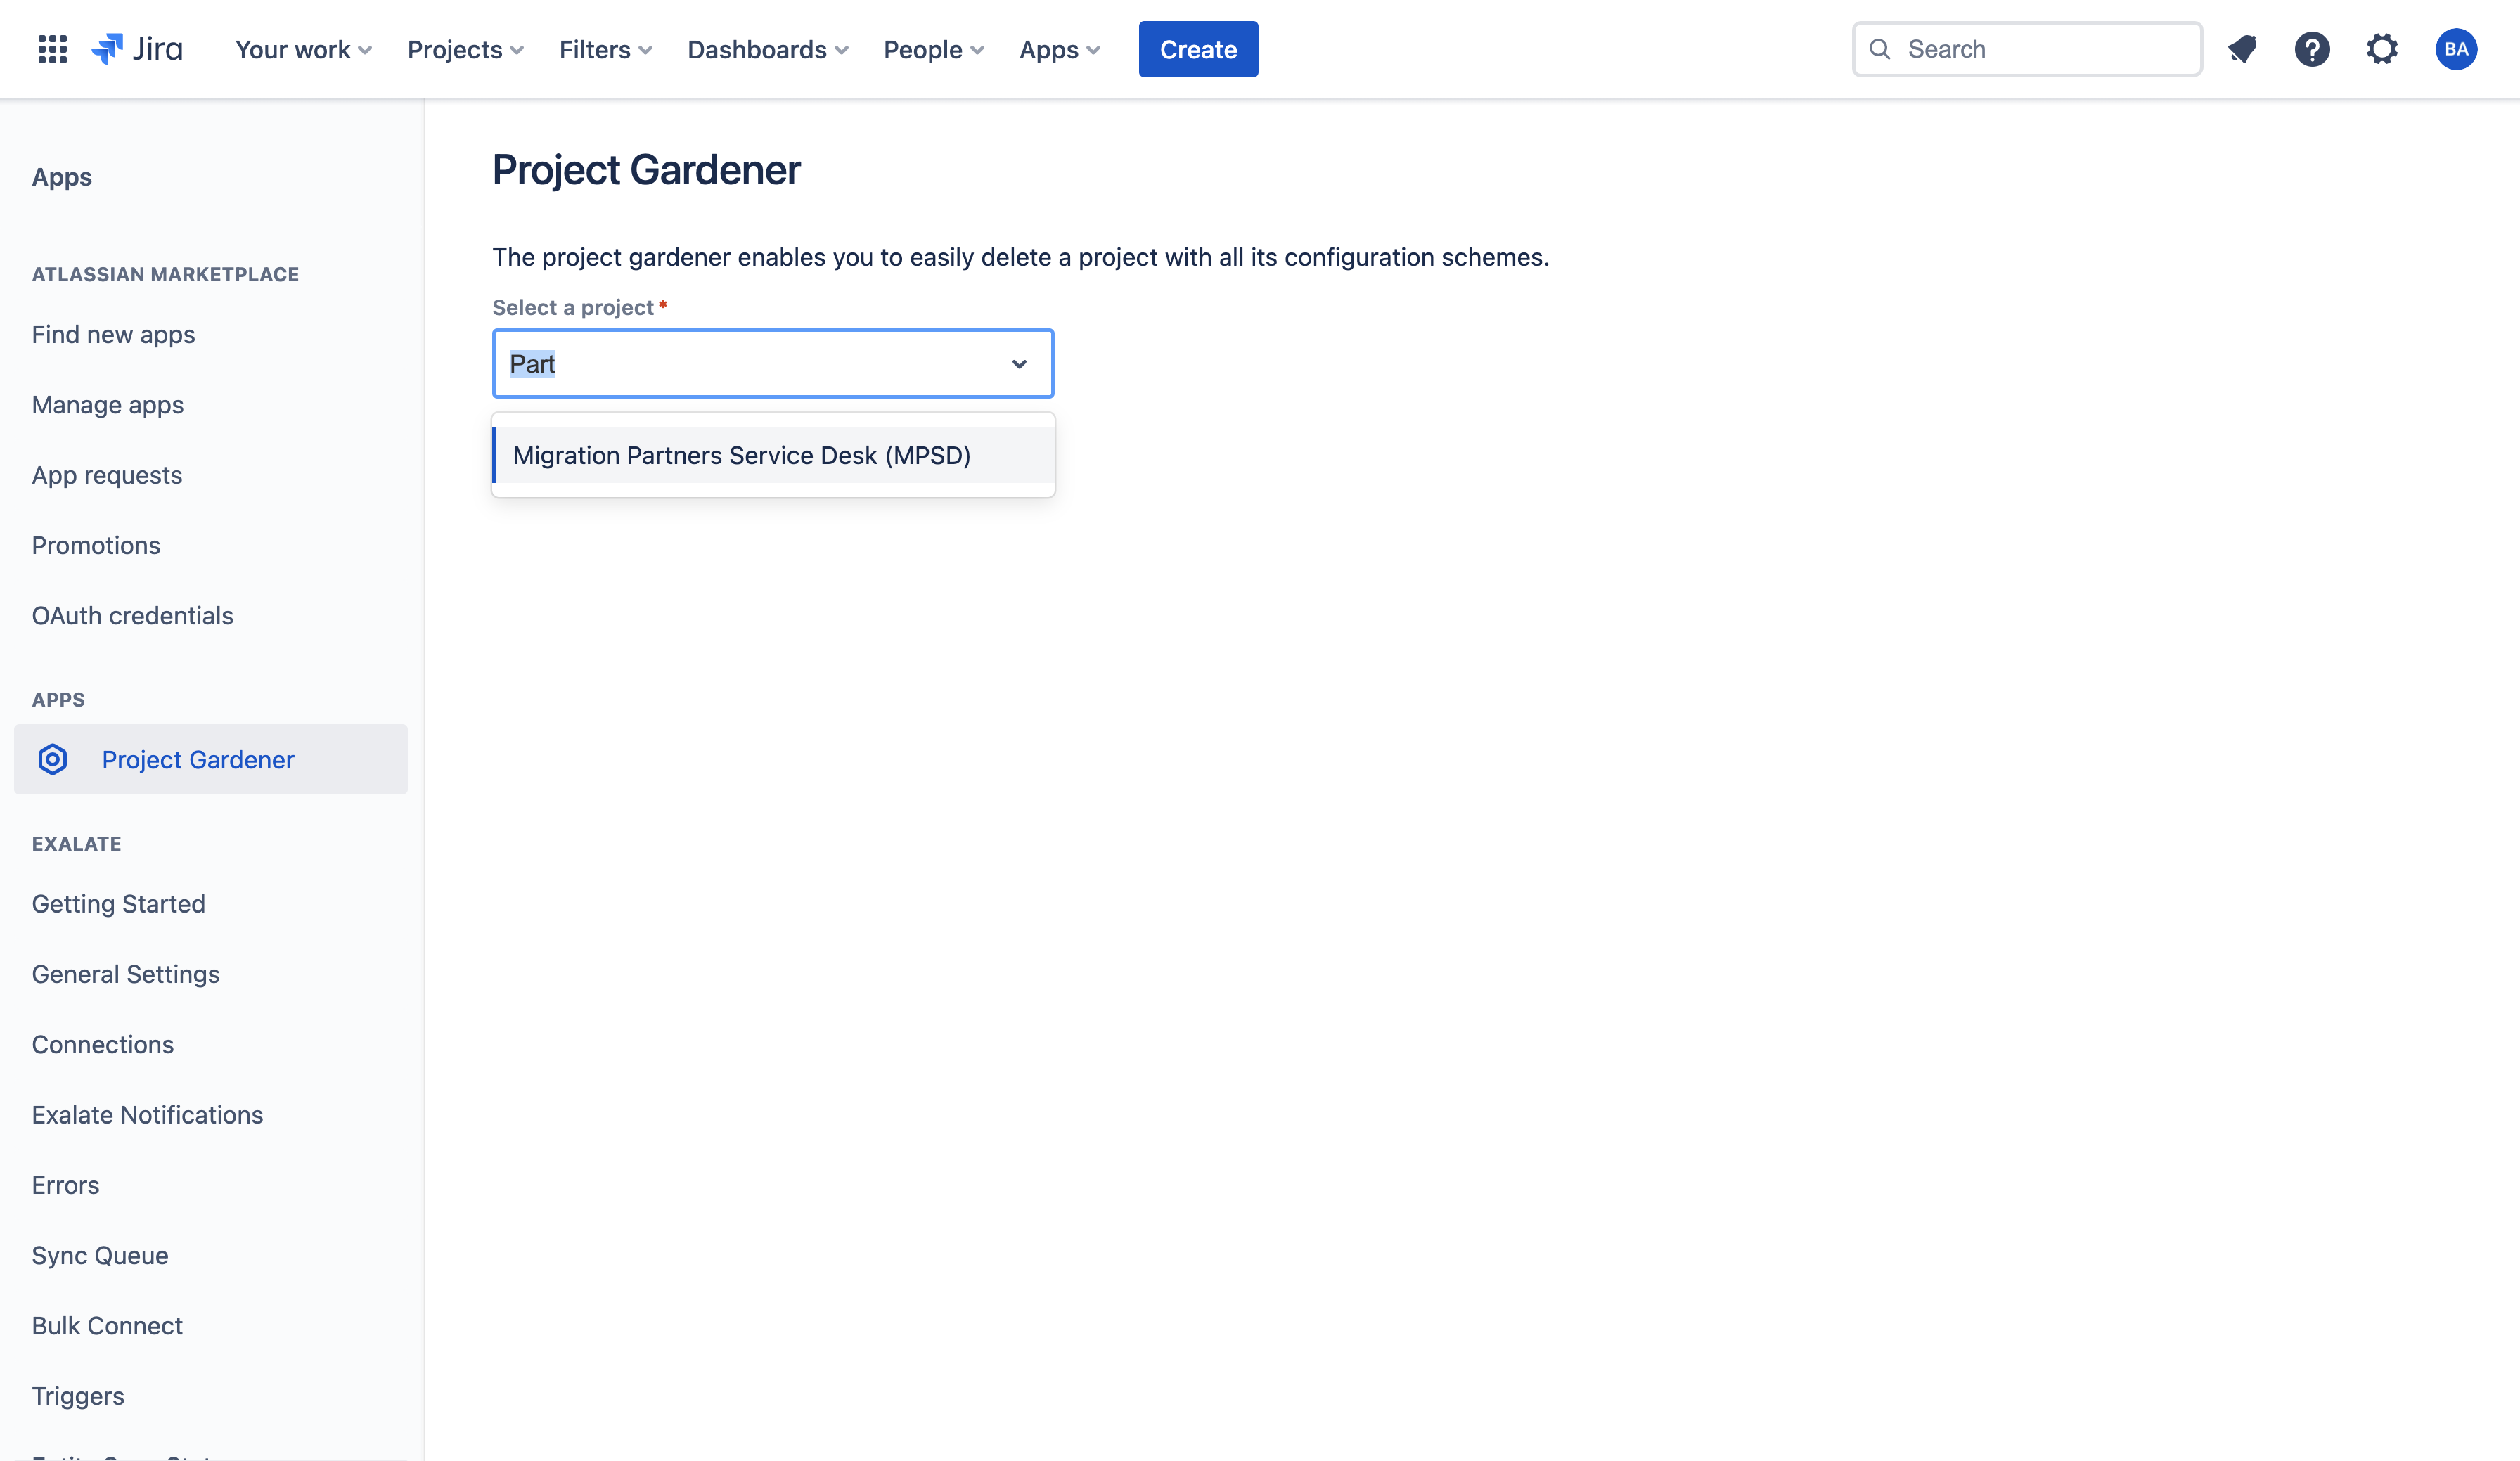
Step 4: Choose a project from the dropdown
Choose a project which you want to delete and click on load project details. Nothing will be deleted yet.
Step 5: Delete the objects individually or Delete all at once
You can use the Delete all button to delete everything related to the project at once.
This only deletes all the schemes which can be deleted using the Jira REST APIs.
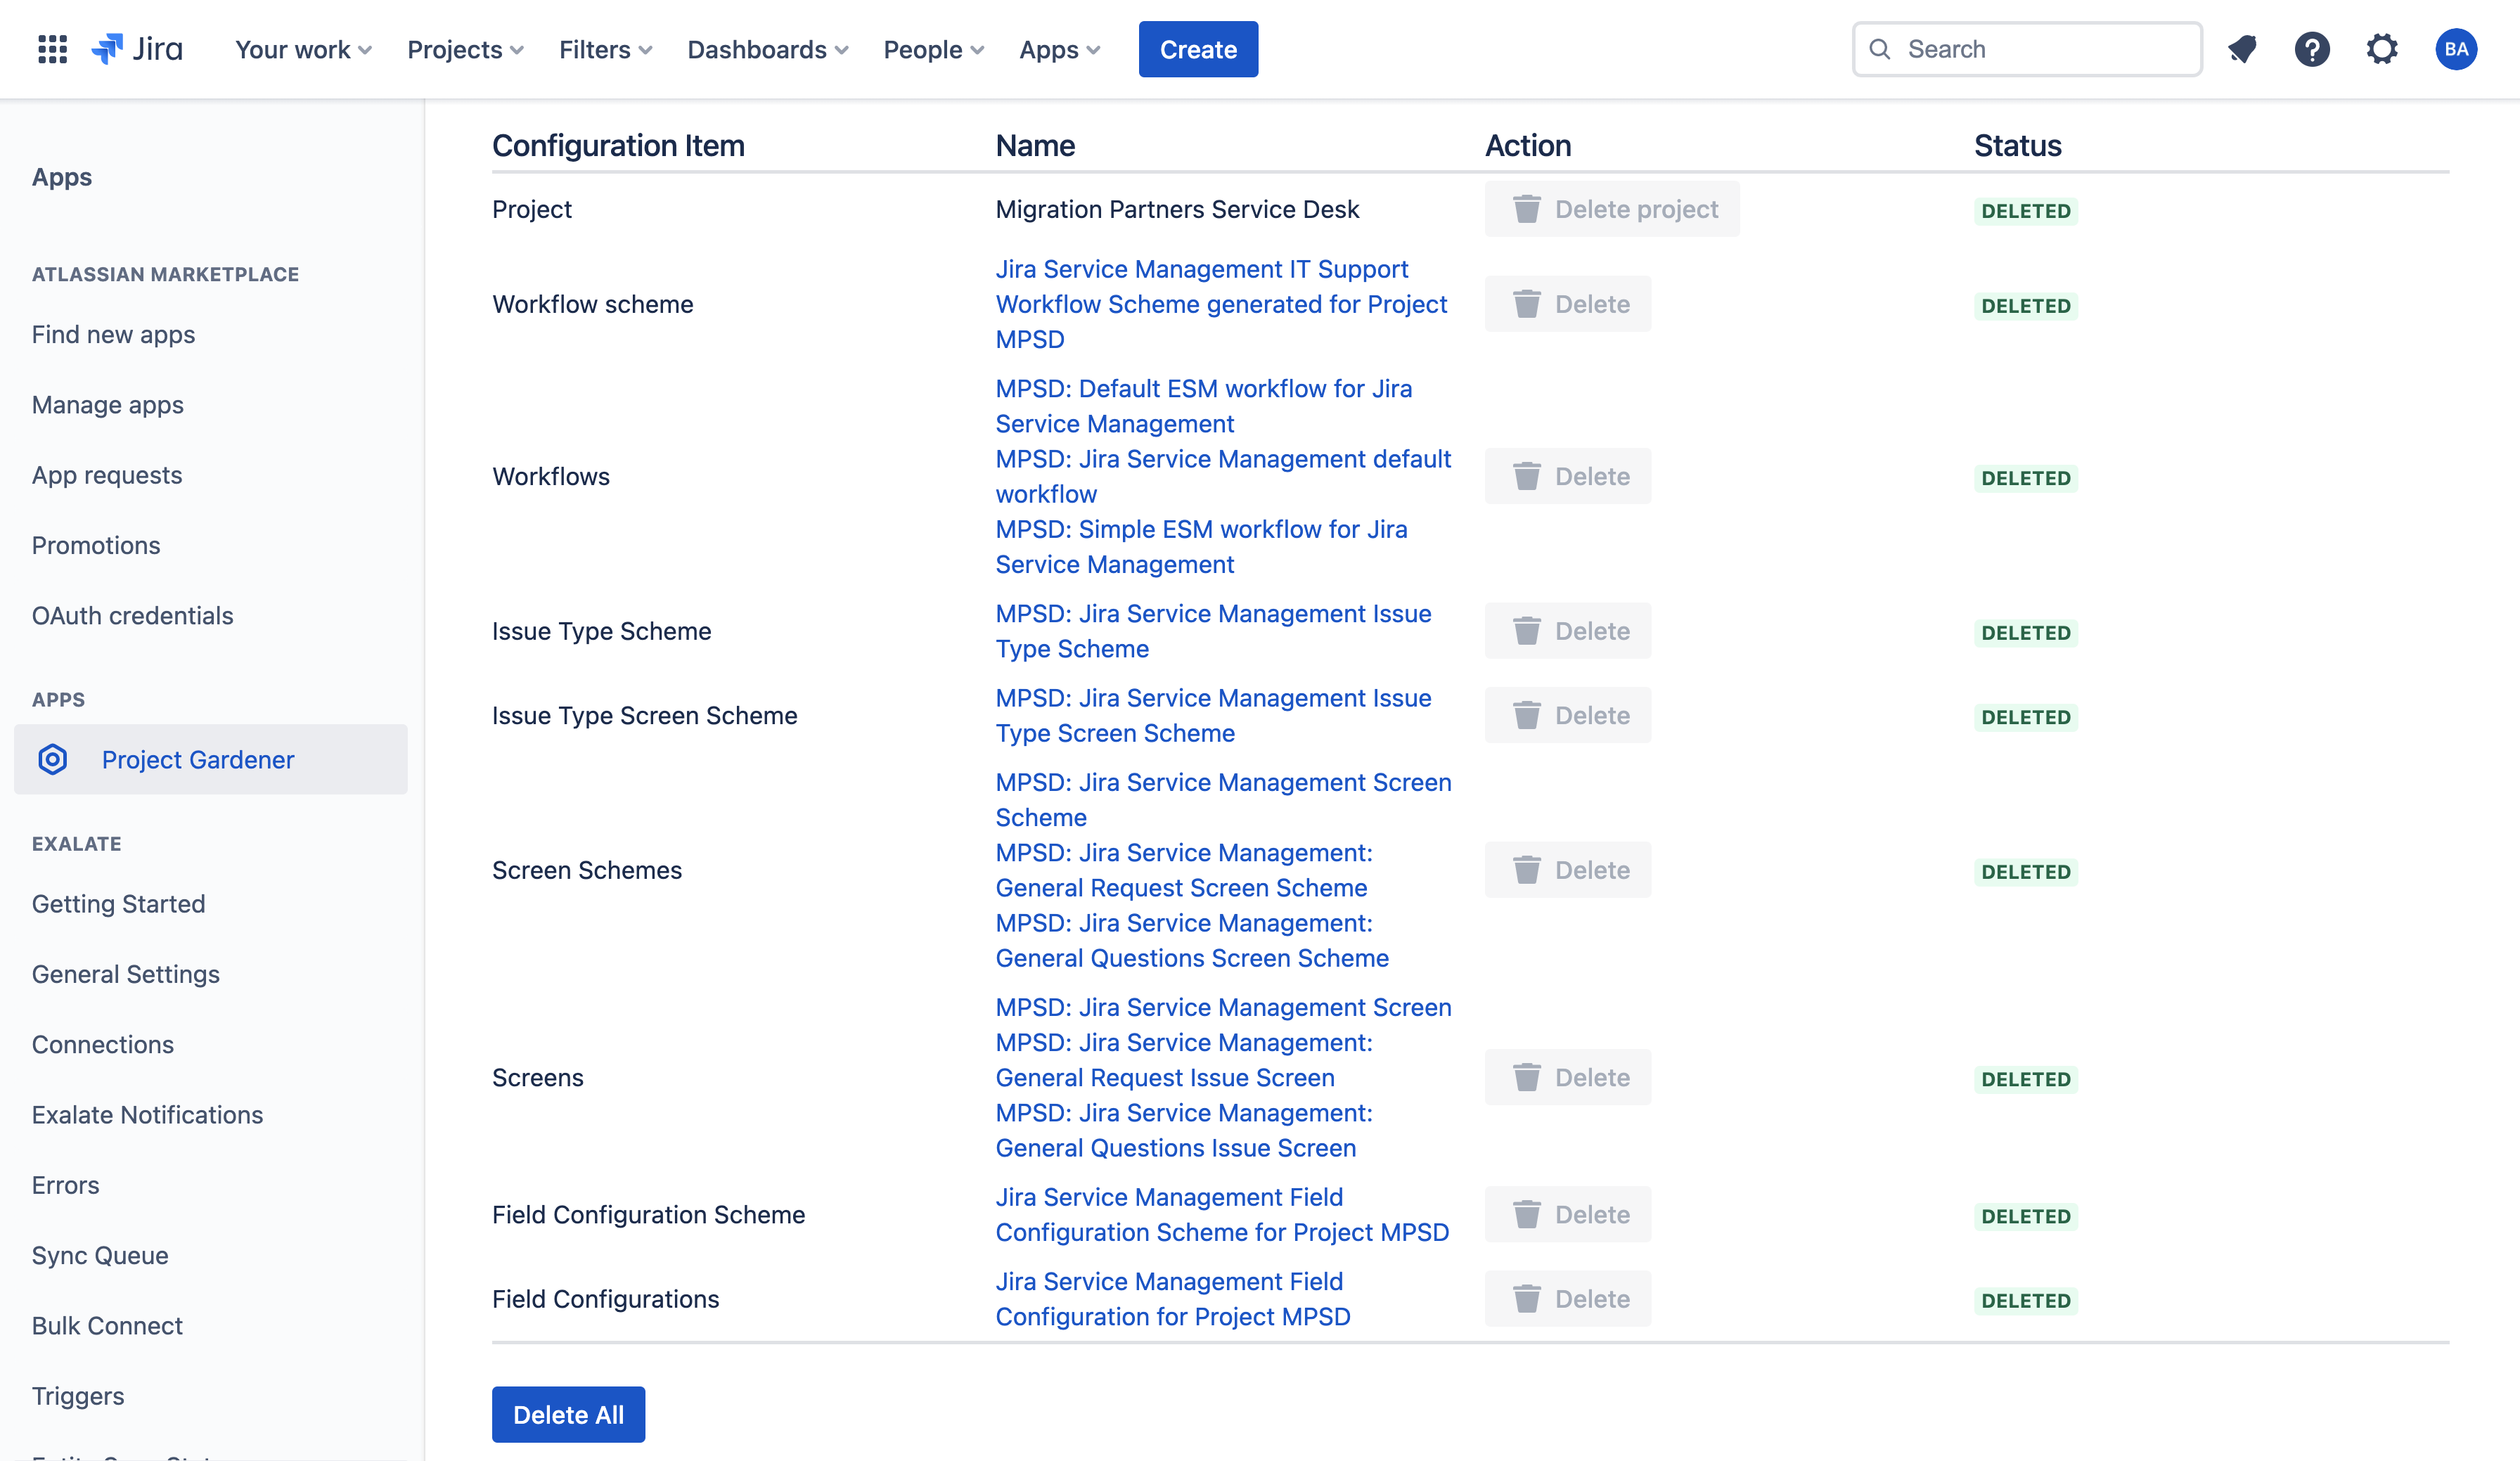
You can also review the schemes and delete them individually depending on your need.
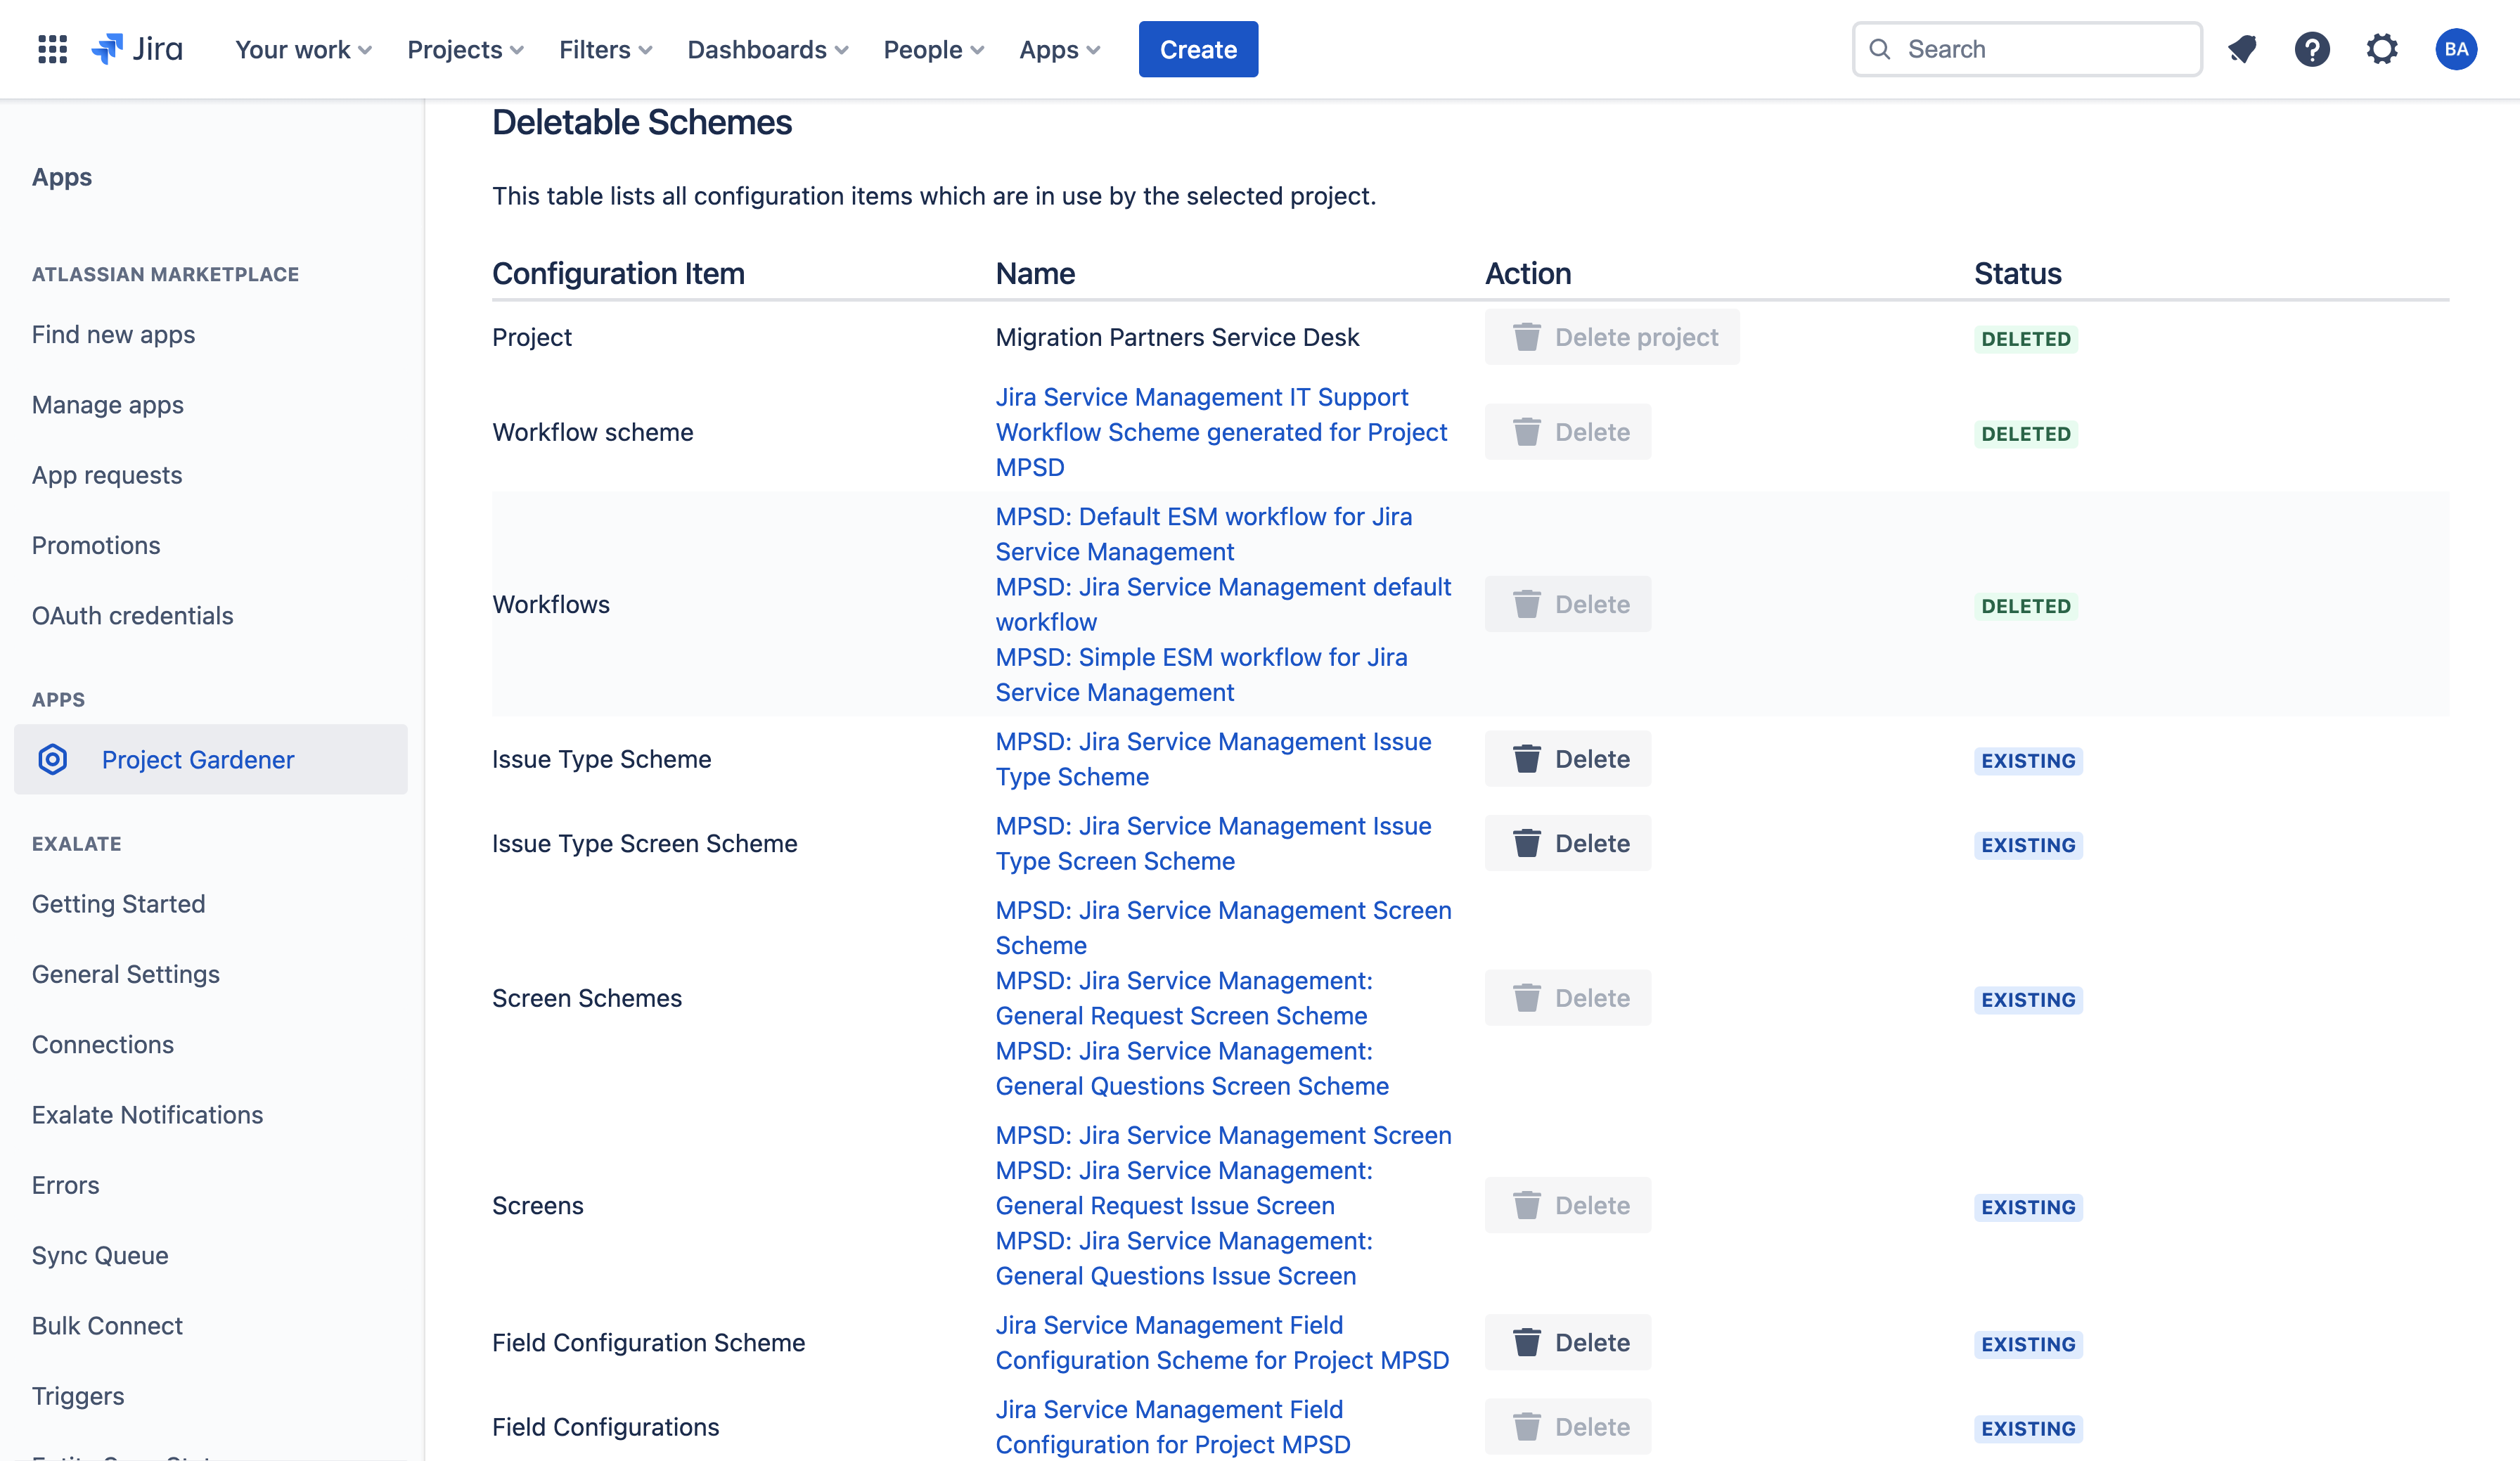
Step 6: Review the schemes that can not be deleted
Usually some schemes can not be deleted by the app and it lists them down for the user to navigate and review if they need to be manually deleted.
